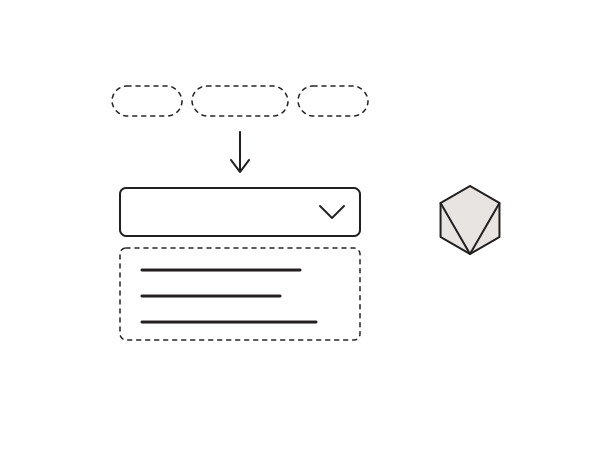
Elementor Pro's Taxonomy Filter widget is genuinely useful for filtering a posts or portfolio grid, but it only renders one way: a horizontal row of buttons, one per term. The moment a taxonomy has more than a handful of terms, that row wraps onto two or three lines and takes over the layout, and on mobile it is worse. Clients keep asking me the same thing: can we make the Elementor taxonomy filter a dropdown instead? There is no native option for it, so here is the approach I use.
Why there is no dropdown option
The Taxonomy Filter widget is built around clickable filter buttons and exposes no "display as select" control in its settings. Each term is output as a button carrying a data-filter attribute and the class e-filter-item, and clicking one filters the linked grid. That button behaviour is exactly what we can reuse. Instead of replacing the widget, I build a native <select> that drives those existing buttons behind the scenes.
The fix: a dropdown that clicks the real buttons
The trick has two parts. First I give each filter widget its own CSS class so the script knows which set of buttons to read. Then an HTML widget builds a dropdown from those buttons and, on change, finds the button with the matching data-filter and clicks it. Elementor does the actual filtering; the dropdown is just a nicer control sitting on top.
- Select your Taxonomy Filter widget, open the Advanced tab, and under CSS Classes add a class such as
tax-instruments(no leading dot). - Drop an HTML widget next to it and paste the code below, matching the class name and the dropdown id.
<!-- Instruments dropdown -->
<label for="instrument-dropdown">Instrument</label>
<select id="instrument-dropdown">
  <option value="">Select Instrument</option>
</select>

<script>
document.addEventListener("DOMContentLoaded", function () {
  var taxonomyButtons = document.querySelectorAll('.tax-instruments .e-filter-item');
  var dropdown = document.getElementById('instrument-dropdown');

  var allOption = document.createElement('option');
  allOption.value = "__all";
  allOption.text = "All";
  dropdown.appendChild(allOption);

  taxonomyButtons.forEach(function (button) {
    var filterValue = button.getAttribute('data-filter');
    if (filterValue !== "__all") {
      var option = document.createElement('option');
      option.value = filterValue;
      option.text = button.textContent;
      dropdown.appendChild(option);
    }
  });

  dropdown.addEventListener('change', function () {
    var selectedFilter = this.value;
    if (selectedFilter) {
      taxonomyButtons.forEach(function (button) {
        if (button.getAttribute('data-filter') === selectedFilter) {
          button.click();
        }
      });
    }
  });
});
</script>
I have trimmed the cosmetic CSS to keep this readable; the fully styled version, with a clean underlined select, is in the repo.
Multiple taxonomies on one page
This scales to as many taxonomies as you need. Give each filter widget its own class, for example tax-programs for a second one, then duplicate the HTML widget and change three things: the CSS class in the querySelectorAll call, the <select> id, and the label. Each dropdown drives its own filter independently. If you want the options in a specific order rather than the order Elementor outputs them, the repo README includes a variant that builds the list from a desiredOrder array.
Still works in 2026
This rides on Elementor's own markup, the e-filter-item class and the data-filter attribute, both of which are still in place on current Elementor Pro in 2026. Because it clicks the real buttons rather than reimplementing the filtering, it keeps working through Elementor updates without changes.
The snippet lives on GitHub: djaysan/elementor-taxonomy-filter-dropdown. Star or fork it if it cleaned up your filter row.
Building an Elementor site with filtered grids and want the UX to feel right? Get in touch.